
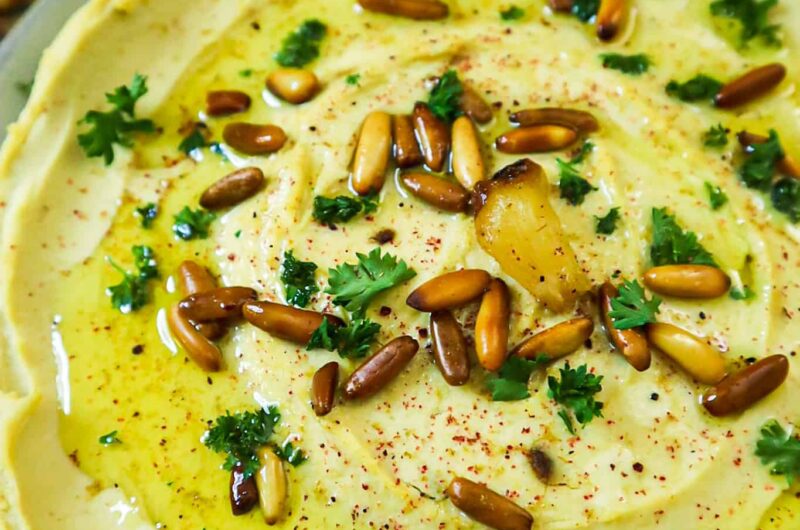
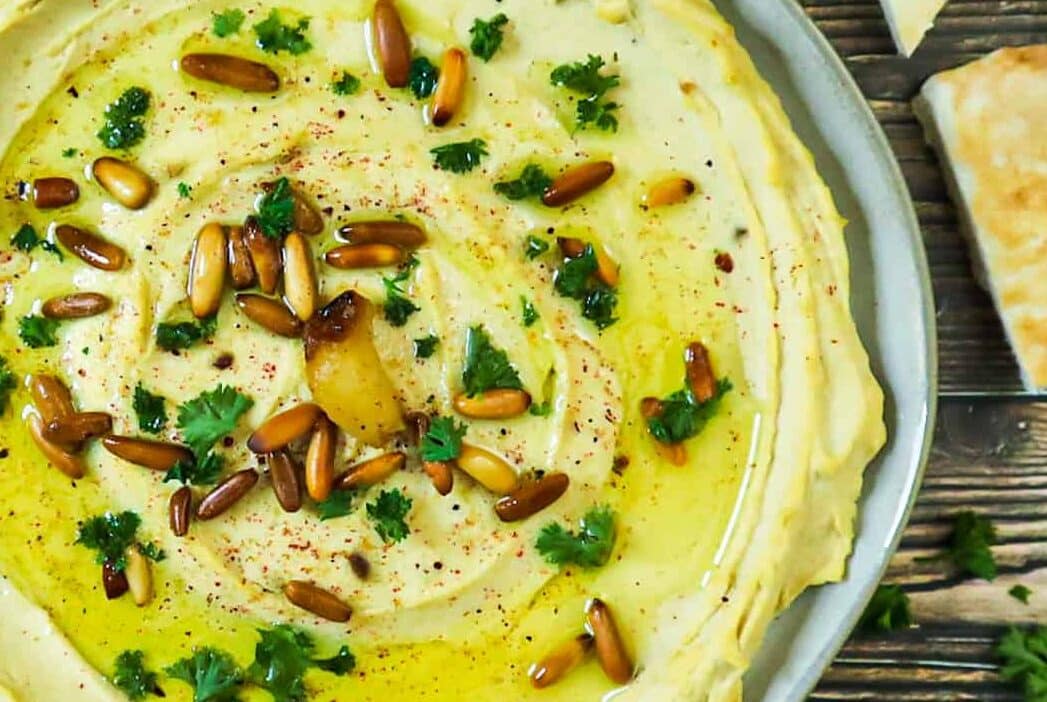
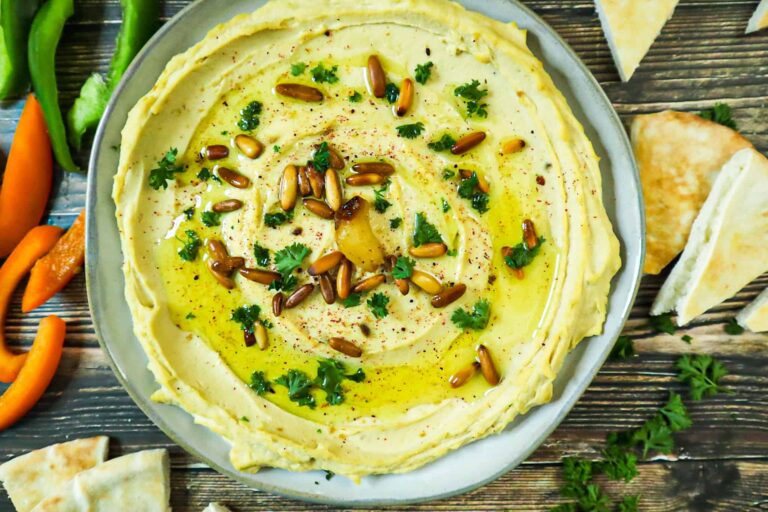
Garlic lovers gather up! This easy roasted garlic hummus recipe is the one ❤️; It’s healthy, creamy, smokey, and, of course, garlicky! This best hummus recipe is made with heads of garlic, canned chickpeas, fresh lemon juice, and tahini paste.
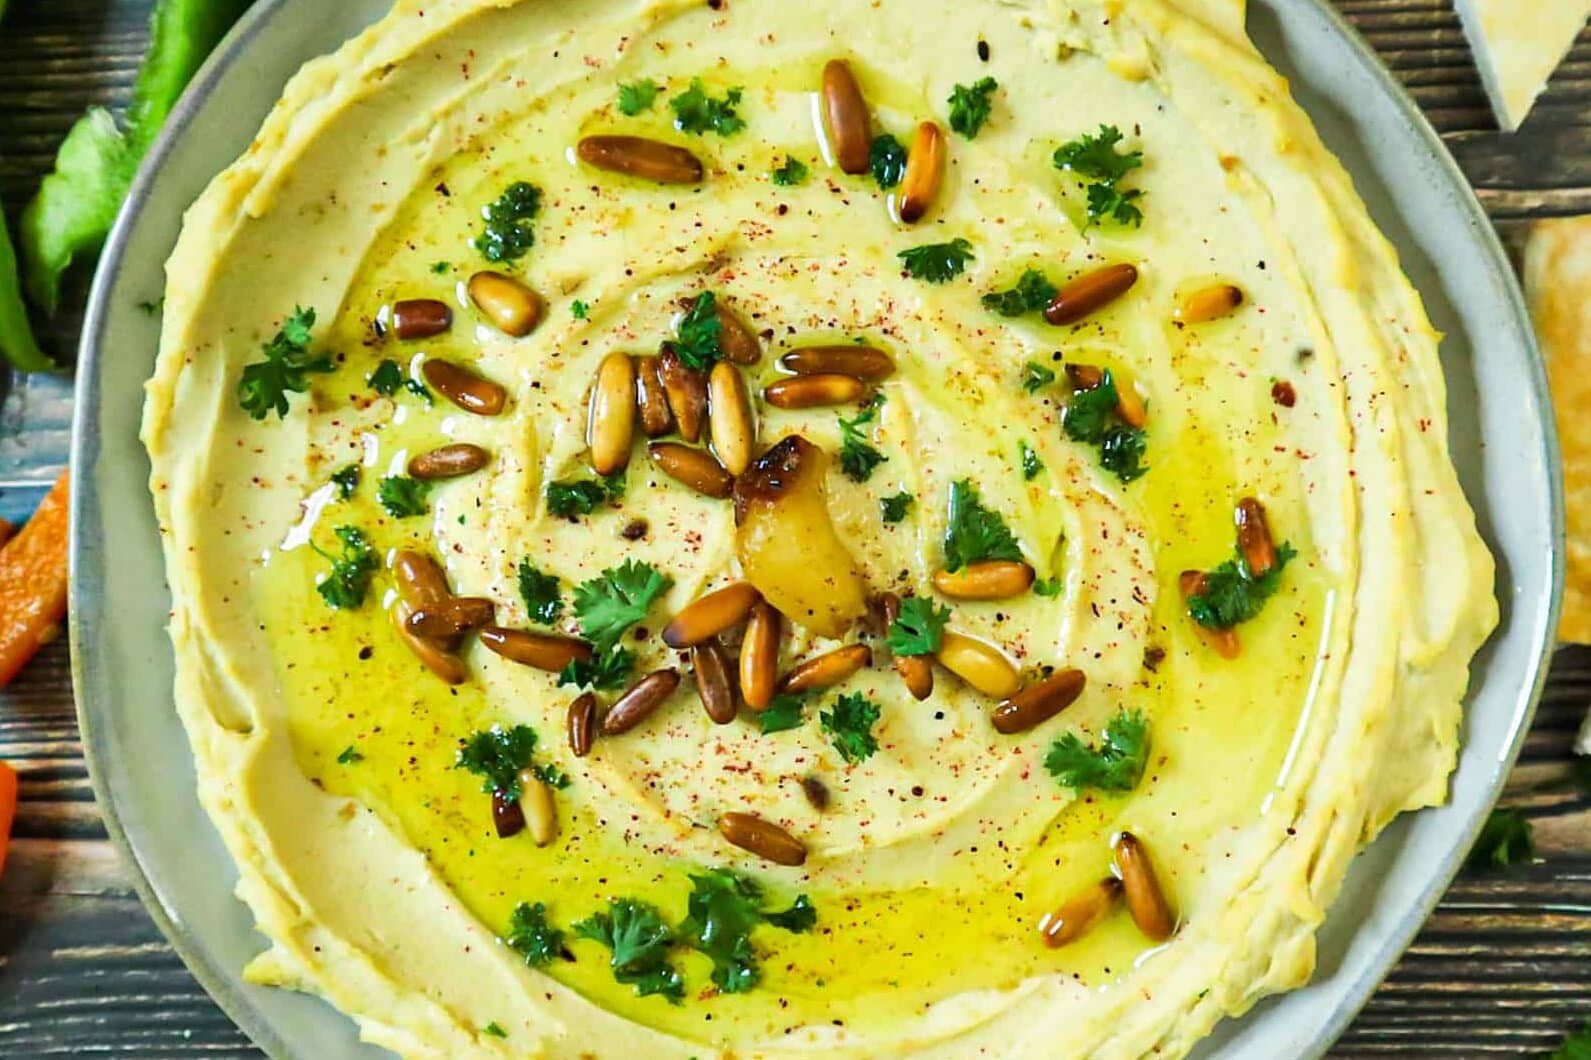
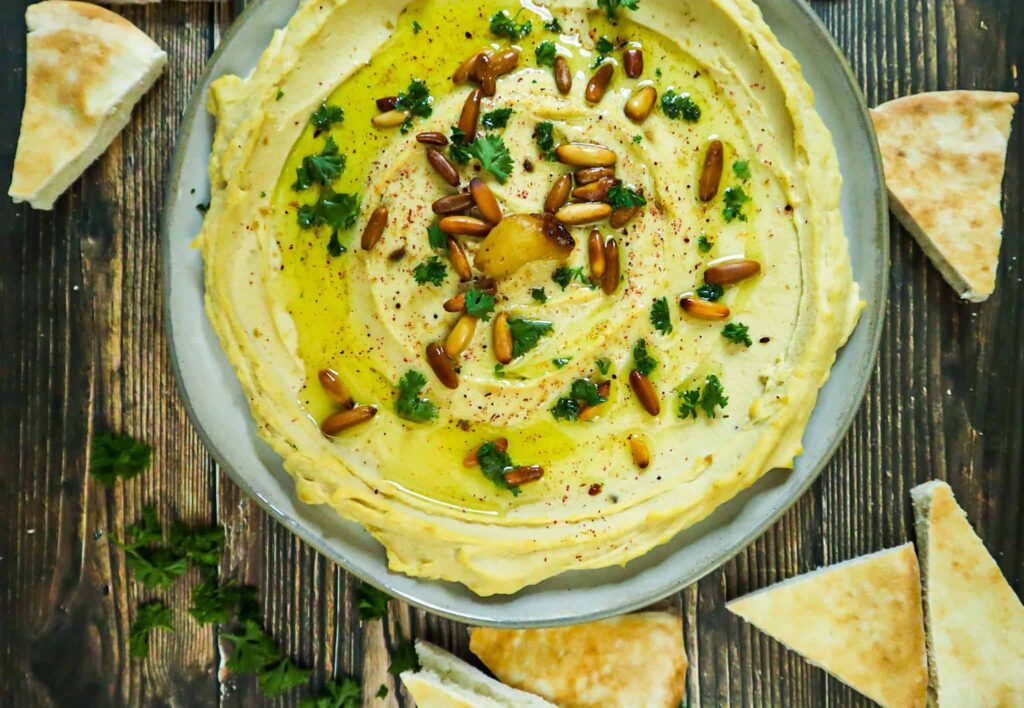
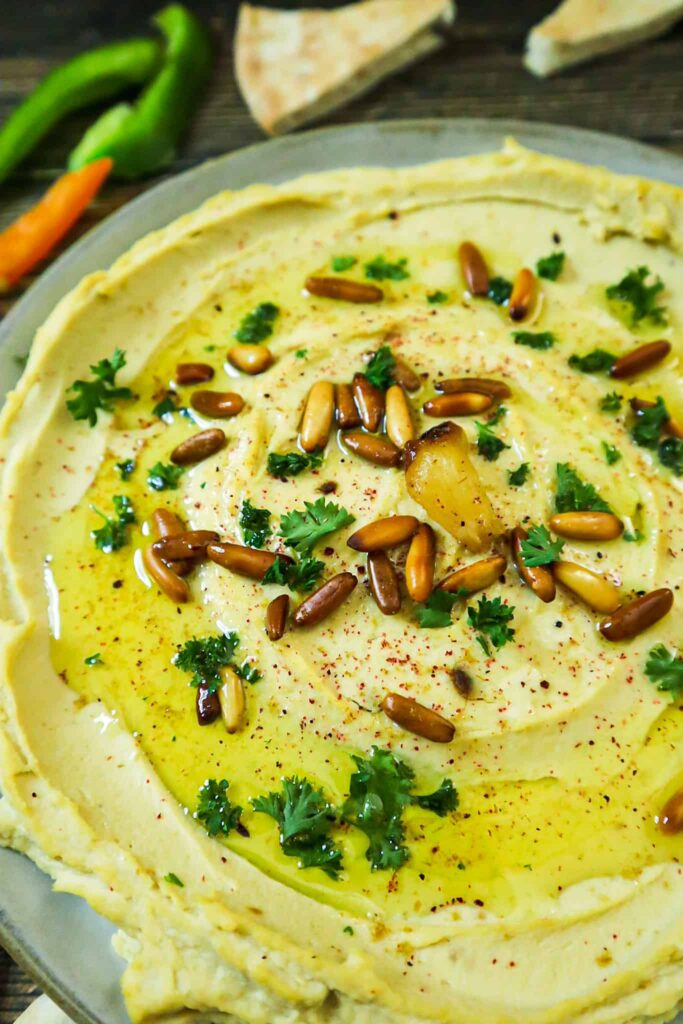
This creamy roasted garlic hummus recipe can be served with grilled meat, a perfect dip, some pita bread, or sliced veggies, or if you are like my husband, eat it with a spoon!
Is Roasted Garlic hummus healthy?
Like traditional hummus, roasted garlic hummus is packed full of nutrients and is considered healthy eating. Chickpeas, the main ingredient in hummus, are high in protein, fiber, and several essential vitamins and minerals. The high fiber content will leave you full for longer, and adding garlic to hummus provides an additional nutritional value.
Garlic, on the other hand, has been linked to many health benefits, such as boosting your immune system and decreasing the likelihood of developing common colds (1,2). Garlic has also been linked to cardiovascular benefits such as reducing blood pressure and LDL cholesterol (AKA bad cholesterol) (3,4,5).
What is Roasted Garlic Hummus?
Roasted garlic hummus is a variation of traditional hummus that incorporates roasted garlic’s deep, caramelized flavors.
The roasting process transforms garlic’s sharp, raw taste into a sweet and mellow flavor that perfectly complements the nutty taste of chickpeas and the tanginess of lemon juice in hummus.
Roasted Garlic Hummus Ingredients:
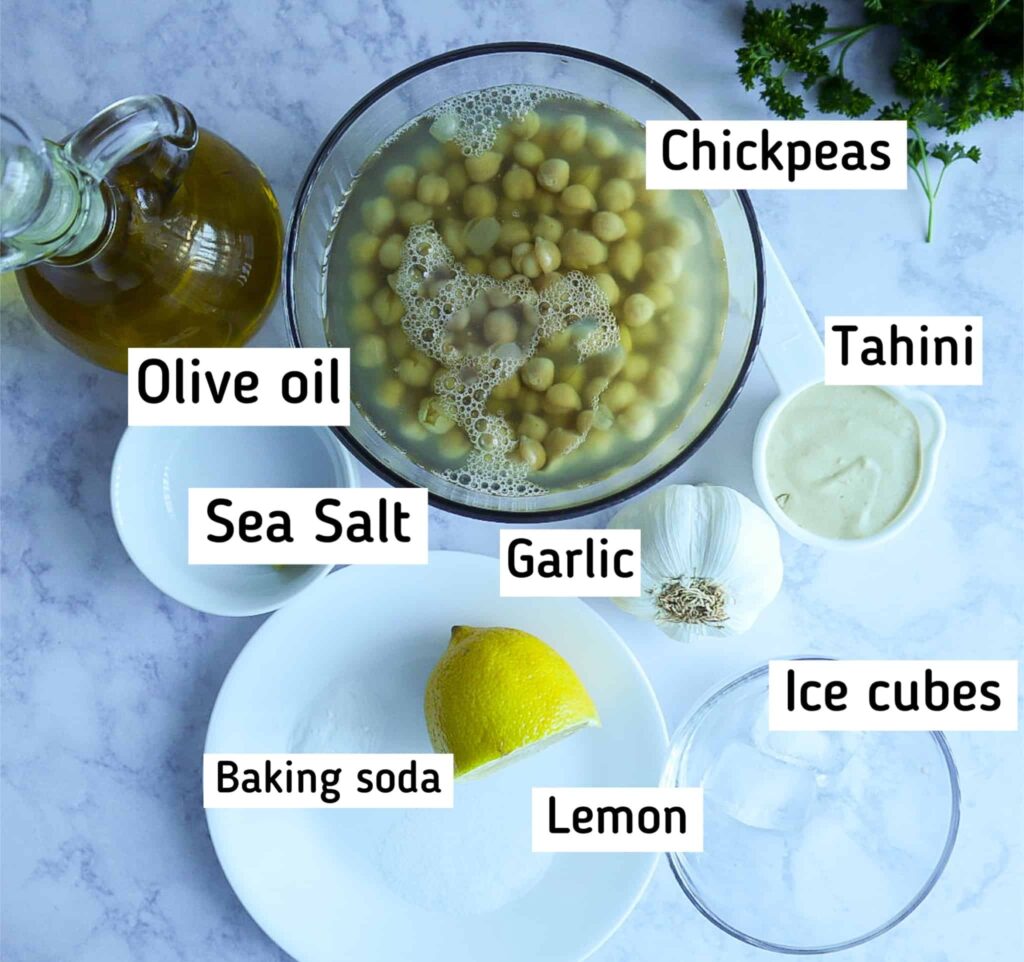
- Chickpeas (Garbanzo beans): A high-quality can of chickpeas, which you can easily find in any supermarket, should be sufficient. Alternatively, you could opt for dry chickpeas. After soaking them in water for a day, cook them in a pressure cooker for about an hour. If time allows, consider peeling off the skin for a smooth texture.
- Baking Soda: Helps soften the chickpeas for easier grinding and smoother hummus!
- Fresh Garlic: Garlic loses its strong taste once it’s roasted, and after it’s roasted, it will end up with a rich, sweet, and smokey flavor. I like to use one large head but add two garlic heads if you like that garlicky flavor.
- Tahini: Tahini is the most essential flavor in Hummus. Good quality tahini is a must for delicious Hummus. I found that tahini made from Ethiopian ground sesame seeds gives the best results; check it out here. (Affiliate Link)
- Water: Helps in the blending processor to smooth the texture of the hummus. You can save the hummus water (aquafaba) and use it instead.
- Lemon juice: Freshly squeezed, adds brightness!
- Ice Cubes: Some people use cold water, but I prefer ice cubes. They give a lighter color and a creamier texture to my hummus.
- Extra Virgin Olive oil: Drizzle a little olive oil on the raw garlic heads and extra on top for serving.
- Sea Salt: to taste
- Garnish: (Optional) I added ground cumin, Sumac, chopped parsley, and toasted pine nuts.
How to make Roasted Garlic hummus?
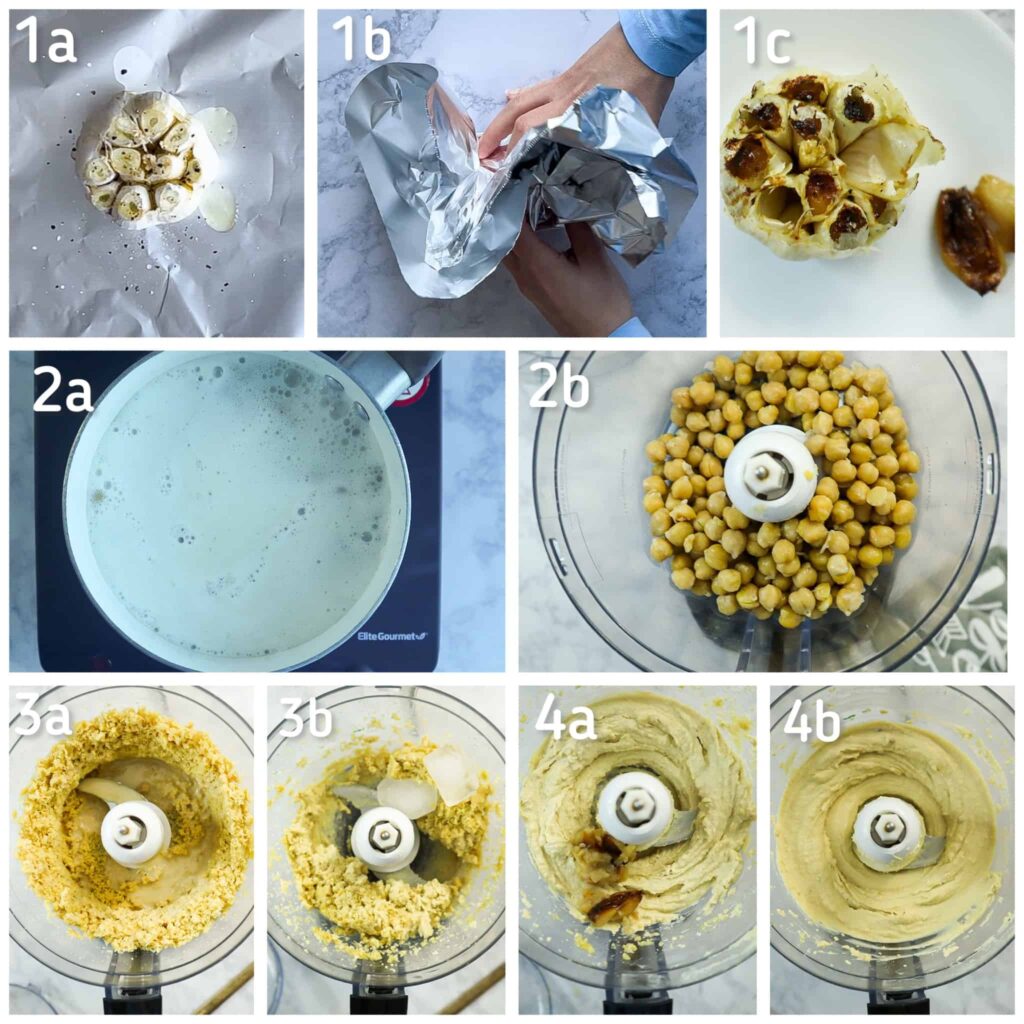
Roast the Garlic:
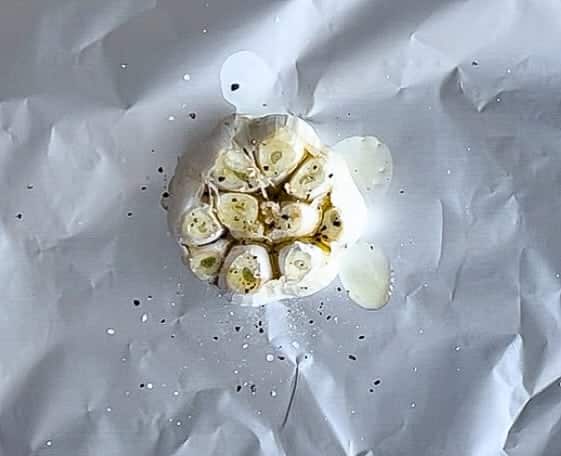
- 1a – Preheat the oven to 400°F. Using a knife, Cut off the top of the garlic head.
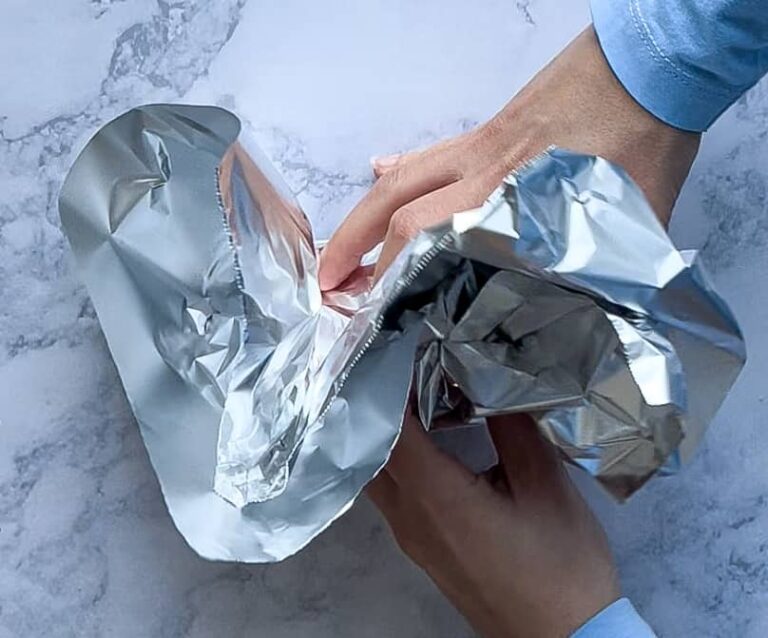
- 1b – Add a drizzle of olive oil, sprinkle salt and black pepper, then wrap securely in aluminum foil.
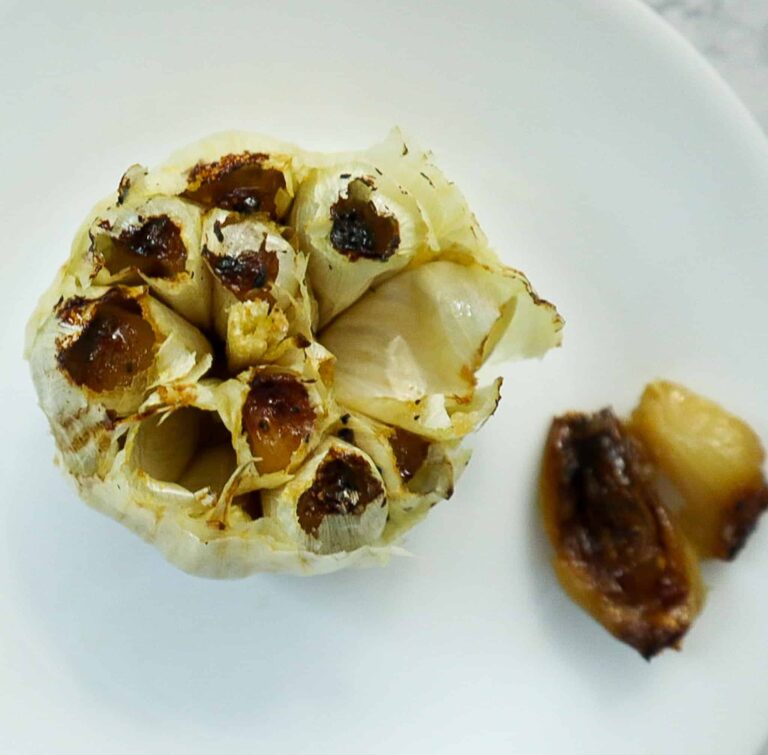
- 1c – Roast garlic in the oven for 30-40 minutes (Roasting time will vary based on the garlic size) until the cloves are soft and caramelized.
- Allow it to cool, then squeeze the roasted garlic out of each clove into a small bowl using your fingers.
Make the hummus:
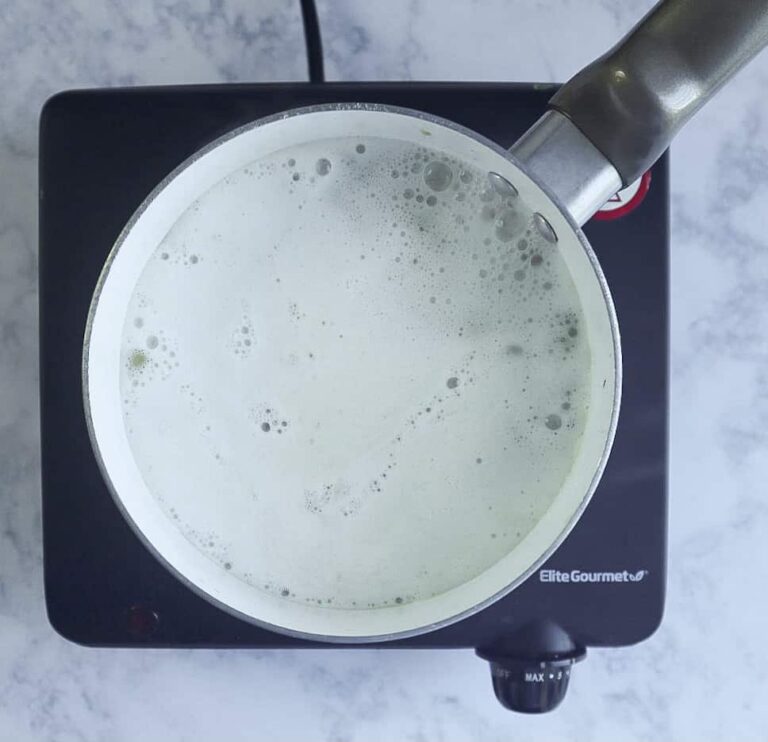
- 2a – Pour the chickpeas from the can into a small pot, add the baking soda, and bring it to a boil for five minutes. Drain the chickpeas and leave them to cool down.
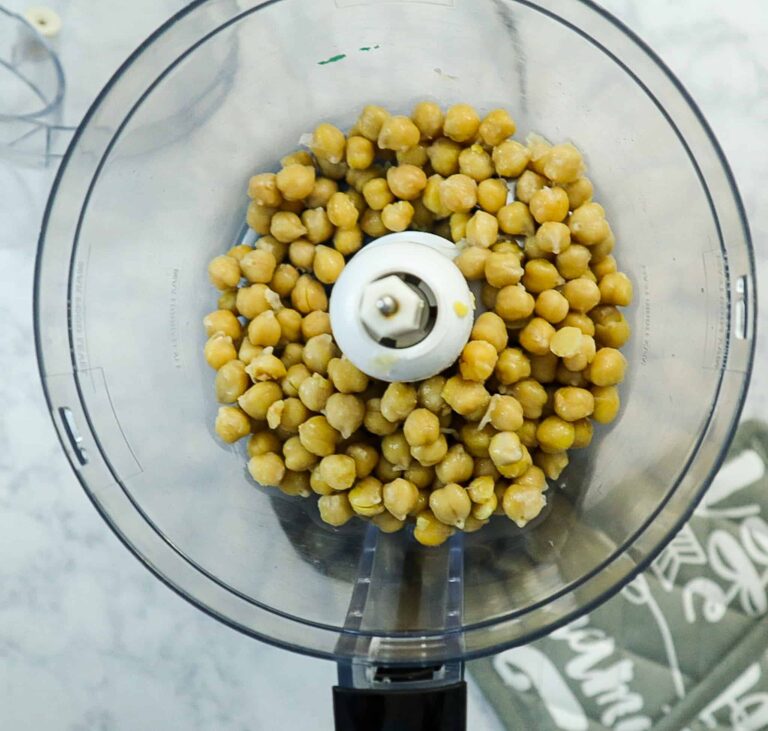
- 2b – Add the drained chickpeas to the food processor.
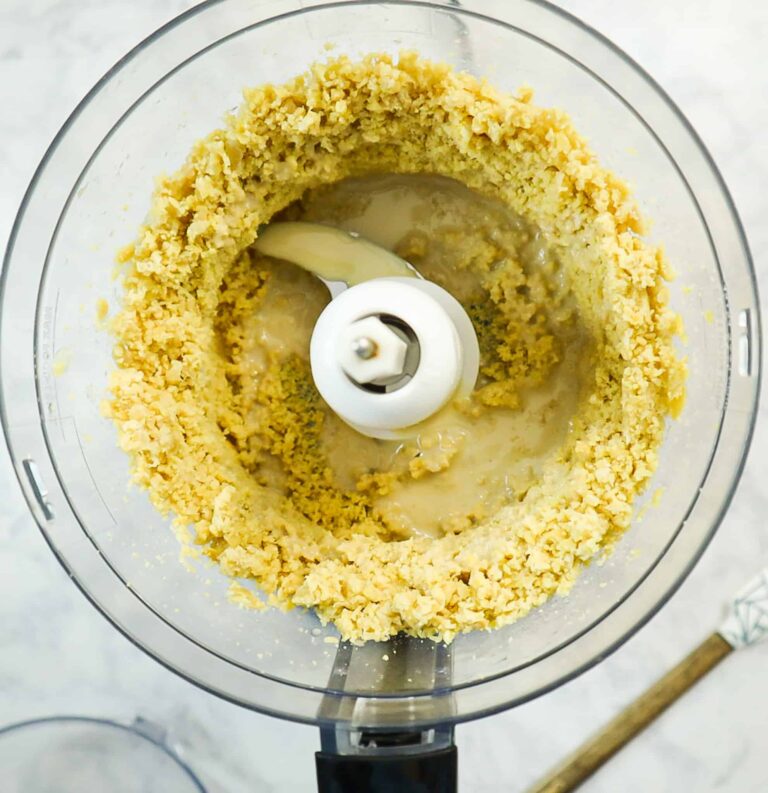
- 3a – Puree until a smooth, powder-like mixture forms, then add Tahini paste, salt, lemon juice, and water (as needed).
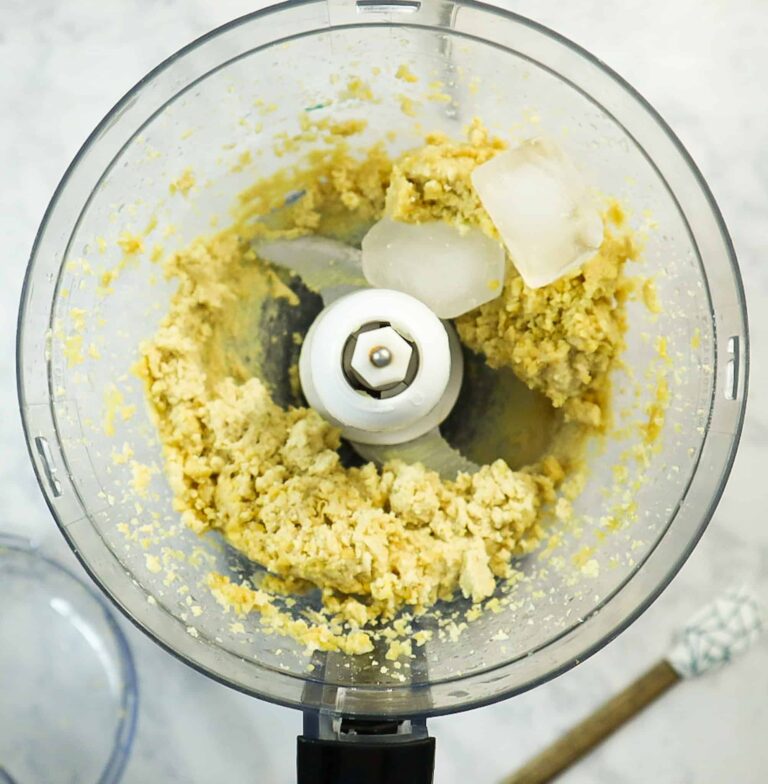
- 3b – Blend for 1 minute, and while the processor is running, add the ice cubes. Blend for at least two more minutes until you get a creamy texture.
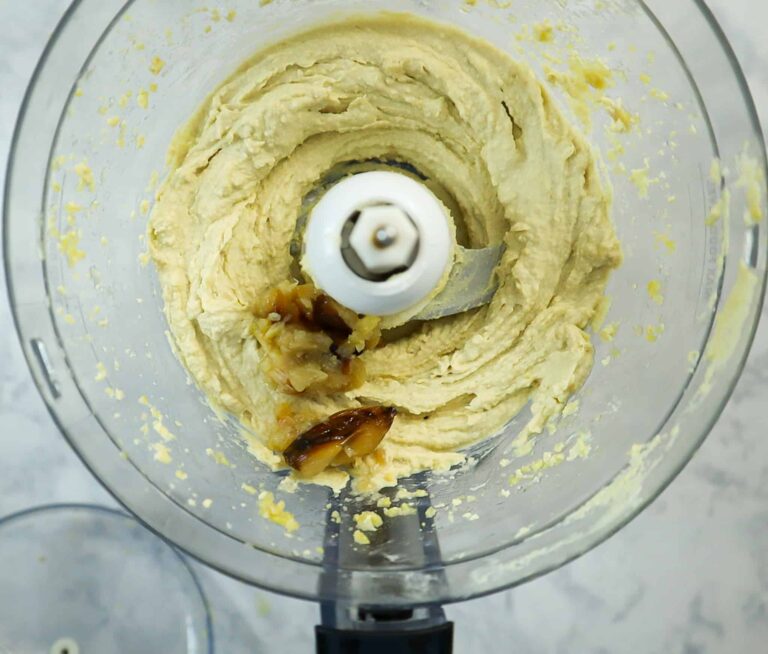
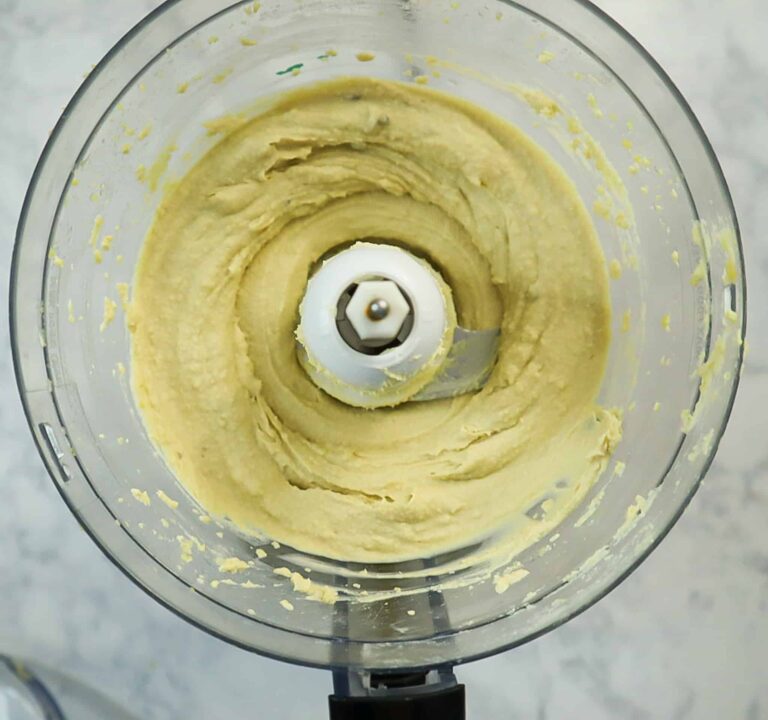
- 4a – Add the squeezed roasted garlic to the hummus in the food processor and grind until a smooth, creamy texture.
Important Tips
- Adding the baking soda to the canned chickpeas will make them softer and more accessible to grind and give them a creamy texture.
- The ice cubes will give your hummus a light color and creamy texture.
- Always adjust the salt and lemon juice as needed.
- Remove the skins before processing them in the food processor for an extra smooth hummus texture.
- If the hummus consistency is too thick, add a little water to thin it out.
Some Substitutions & Additions
There are a variety of popular substitutions and additions you can consider to switch up the flavor:
Substitutions:
- Lemon Juice: You can substitute lime juice or citric acid for a different tangy kick.
- Tahini: If you’re out of tahini, use unsweetened, smooth Almond or peanut butter.
Additions:
- Spices: Add cumin, smoked paprika, or cayenne pepper for an extra burst of flavor.
- Herbs: Fresh herbs like parsley, basil, or cilantro can add a fresh and vibrant taste.
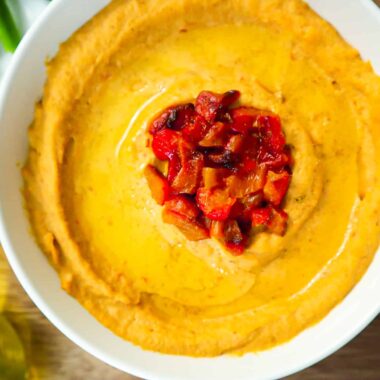
- Veggies: Roasted red peppers, sun-dried tomatoes, or cooked beets can be blended into your hummus for a unique twist.
- Protein: Add cooked chickpeas or black beans for a protein boost.
FAQs
What to serve with roasted garlic hummus?
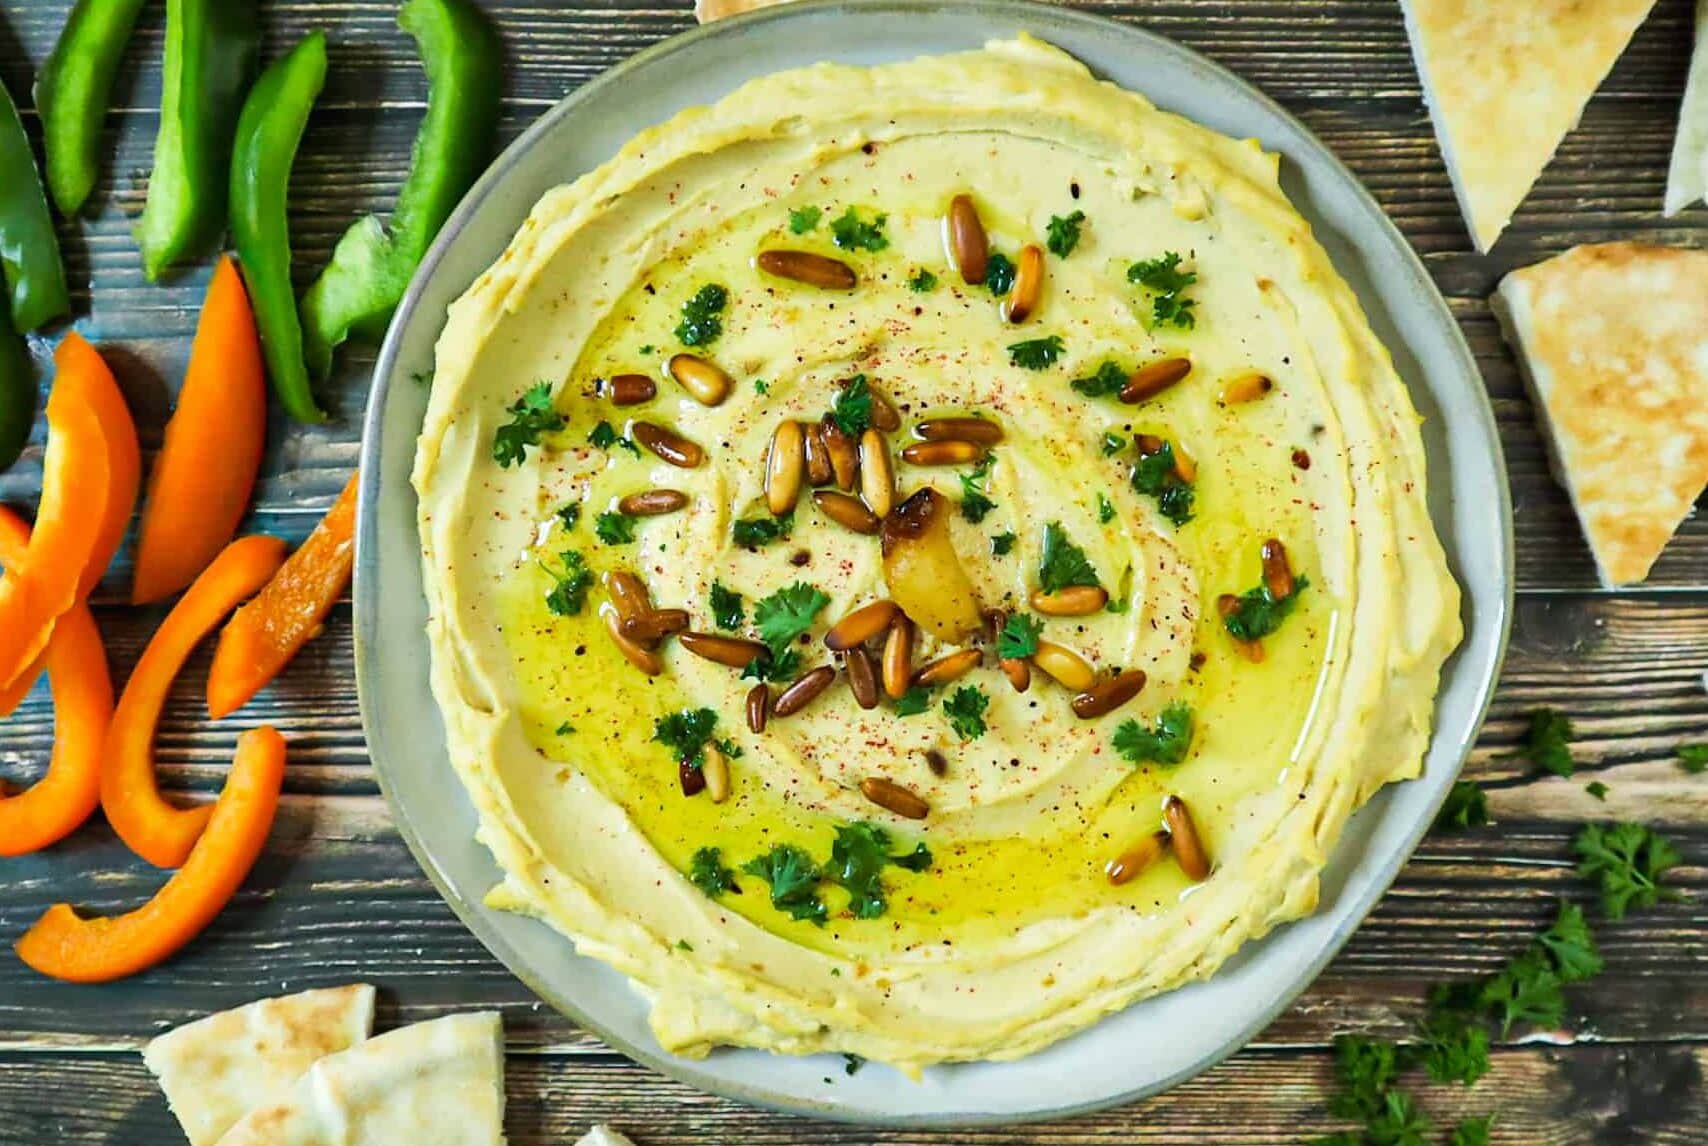
Roasted garlic hummus is incredibly versatile.
- It is a perfect dip with your favorite pita chips, pita bread, or raw veggies.
- Also, spread it on sandwiches like grilled meats.
Check out my Authentic Hummus recipe and Roasted red pepper Hummus recipe
How to store and freeze?
Storage: Place the roasted red pepper hummus in an airtight container in the fridge for up to one week.
Freeze: This hummus can also be stored in the freezer for up to three months. To serve, defrost it in the refrigerator overnight and stir well before eating. Adjust the consistency with a bit of water or lemon juice if necessary.
Did You Love This Roasted Red Pepper Hummus Recipe? Check Out My Other Dip Recipes:
Amazing Roasted Red Pepper Hummus Recipe
Best Guacamole Recipe | (Fast & Easy)
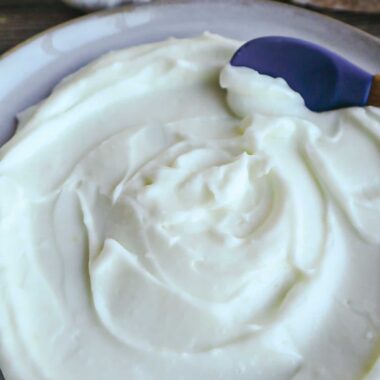
Traditional Garlic Sauce (Toum)
Roasted Garlic Hummus
Course: AppetizersCuisine: Middle easternDifficulty: Easy4
servings10
minutes40
minutes126
kcal50
minutesThis Roasted Garlic Hummus recipe is smokey, healthy and creamy. It can be served with grilled meat, dip some pita bread, or sliced veggies in it or if you are a real garlic fan, eat it with a spoon!
Ingredients
1 Can 1 Chickpeas (15oz, 425g)
1/4 Teaspoon 1/4 Baking Soda
1 large 1 Garlic Head (or 2 heads garlic)
1/4 Cup 1/4 Tahini paste
1 1 Fresh Lemon Juice (about 1/4 cup)
2-3 Tablespoons 2-3 Water (or as much as needed to blend).
1/2 Teaspoon 1/2 Sea Salt (or to taste)
2 2 Ice Cubes
Extra Virgin Olive Oil for drizzling and garnish
Garnish Garnish Toasted pine nuts (optional)
Garnish Garnish Sumac (optional)
Directions
- Preheat the oven to 400°F.
- Cut off the very top of the garlic clove. Drizzle some olive oil, sprinkle salt and black pepper, then wrap securely in aluminum foil.
- Roast garlic in the oven for 30-40 minutes (Roasting time will vary depends on the garlic size). Remove and allow to cool. Squeeze the roasted garlic out of each clove into a small bowl using your fingers.
- Pour the chickpeas from the can into a small pot, add ¼ teaspoon baking soda, and bring it to a boil for five minutes. Drain the chickpeas and leave them to cool down.
- Add the chickpeas to the food processor. Puree until a smooth, powder-like mixture forms.
- Add Tahini paste, salt, lemon juice and water (as needed). Blend for 1 minute.
- While the processor is running, add the ice cube and blend.
- Add the squeezed roasted garlic to the hummus in the food processor and grind until a smooth, creamy texture.
- Garnish with toasted pine nuts, parsley, sumac, and olive oil.
Recipe Video
Notes
- Always adjust the salt and lemon juice as needed.
- It is important to boil the can of chickpeas with baking soda; this will make the chickpeas softer and easier to grind and give them a creamy texture.
- Ice cubes will give a light color and creamy texture to your hummus.
- Adding water helps to smooth the consistency. Also add as much as needed to get a smooth and creamy texture.
- If the consistency is too thick, add more 1-2 ice cubes until you reach the desired creamy texture.
- Roast a bunch of garlic in advance and store it, so it’s ready for use.
Like this recipe? Share it on Instagram!
Tag @eatenjoybyraneem on Instagram and hashtag it #eatenjoybyraneem
Like this recipe?
Follow us @https://www.pinterest.com/eatenjoybyraneem/ on Pinterest
Did you make this recipe? Share it with your friends!
Follow us on Facebook


